Dubai Desert Safari Photography Tips 2025: How to Capture Stunning Desert Photos
October 9, 2025 • 9 min read • Photography Tips
The Dubai desert offers some of the most photogenic landscapes in the world. With the right techniques, you can capture magazine-quality photos that will make your Instagram followers jealous!
Pro Tip: The 30 minutes before sunset (Golden Hour) provides the most stunning desert photos. Book an evening safari for the best lighting, typically between 5:30-6:30 PM during winter season.
Golden Hour: The Secret to Stunning Desert Photos
Golden hour is the magical period shortly after sunrise or before sunset when the light is soft, warm, and perfect for photography. In the Dubai desert, this natural phenomenon creates some of the most breathtaking photo opportunities you'll ever encounter.
Morning Golden Hour (6:00 AM - 7:00 AM)
Morning golden hour in the desert produces cool, crisp light with beautiful blue tones. The light is perfect for landscape shots and creates dramatic shadows across the dunes. The biggest advantage? Fewer tourists, meaning you can capture pristine desert scenes without people in your shots.
Evening Golden Hour (5:30 PM - 6:30 PM)
Evening golden hour is the most popular time for desert photography, and for good reason. The setting sun creates warm, orange-red tones that make the desert glow. This time is ideal for portraits and silhouettes. As a bonus, evening safaris include cultural shows and sunset views, giving you multiple photo opportunities.
Quick Tip: The red dunes of Dubai, particularly in Lahbab Desert, are especially photogenic during golden hour. The iron oxide in the sand creates dramatic orange and red tones that look incredible on camera.
Essential Camera Settings for Desert Photography
DSLR and Mirrorless Camera Settings
ISO Settings:
Use ISO 100-400 during daytime for sharp, noise-free images. As the sun sets, increase to ISO 800-1600 to maintain proper exposure. Keep ISO as low as possible to avoid grain in your photos.
Aperture Settings:
For landscape shots, use f/8 to f/16 to achieve a wide depth of field, keeping both foreground and background sharp. For portraits, use f/2.8 to f/5.6 to create beautiful background blur that makes your subject stand out.
Shutter Speed:
For action shots like dune bashing, use 1/250s or faster to freeze the movement. For general desert photography, 1/125s works well. If shooting in low light, use a tripod or increase ISO rather than slowing shutter speed below 1/60s.
White Balance:
Set white balance to Daylight or Cloudy mode. This enhances the warm golden tones of the desert sunset. Avoid Auto white balance as it may neutralize the beautiful warm colors you want to capture.
Focus Mode:
Use Continuous AF (AI Servo/AF-C) for action shots to track moving subjects. Switch to Single AF (One-Shot/AF-S) for landscapes and static subjects to ensure tack-sharp focus.
Important Camera Protection Tips
Always shoot in RAW format for maximum editing flexibility later. Use a UV filter to protect your lens from sand and dust. Bring extra batteries as extreme heat drains them much faster than normal. Keep your camera in a bag when not actively shooting to protect it from sand.
Composition Techniques for Desert Photography
Rule of Thirds
Place the horizon on the upper or lower third line, never in the center. Position subjects at intersection points for dynamic composition. This creates more visual interest than centered compositions and draws the viewer's eye through the image.
Leading Lines
Use dune ridges, tire tracks, or camel paths to lead the viewer's eye into the photo. Leading lines create depth and dimension in your desert photographs, making them feel more immersive and three-dimensional.
Silhouettes
Position your subject between the camera and the setting sun. Expose for the bright sky to create dramatic silhouettes of people, camels, or 4x4 vehicles. Silhouettes work best when the subject has a recognizable shape and clear outline.
Negative Space
Use vast empty sand or sky to emphasize isolation and scale. This technique makes subjects appear small against the grand desert backdrop, creating a sense of awe and emphasizing the desert's vastness.
Smartphone Photography Tips
You don't need an expensive camera to capture amazing desert photos. Modern smartphones are incredibly capable if you know how to use them properly.
Essential Smartphone Camera Settings
Turn on HDR mode for balanced exposures in high-contrast scenes. The desert's bright sand and dark shadows benefit greatly from HDR processing.
Use Portrait Mode for people and camel photos to create professional-looking background blur. This makes your subjects pop against the desert backdrop.
Tap to focus on your main subject before shooting. Don't rely on auto-focus, especially in bright desert conditions where cameras can struggle.
Lower exposure slightly using the exposure slider. This prevents blown-out highlights in bright sand and creates more dramatic, contrasty images.
Lock focus and exposure by long-pressing on your subject. This prevents the camera from refocusing when you recompose your shot.
Smartphone Photography Techniques
Clean your lens frequently. Desert sand and dust can quickly accumulate on your lens, causing blurry photos. Wipe it with a soft cloth before each shot.
Use burst mode for action shots like dune bashing. Take 10-20 shots in rapid succession and choose the best one later.
Shoot in landscape orientation for desert scenes. Vertical photos work for portraits, but landscapes showcase the vast desert better.
Avoid digital zoom completely. It reduces image quality significantly. Instead, move closer to your subject or crop in post-processing.
Use third-party apps like Lightroom Mobile or ProCamera for manual control over ISO, shutter speed, and focus. These apps unlock professional features hidden in your phone.

What to Photograph During Your Safari
Must-Capture Moments
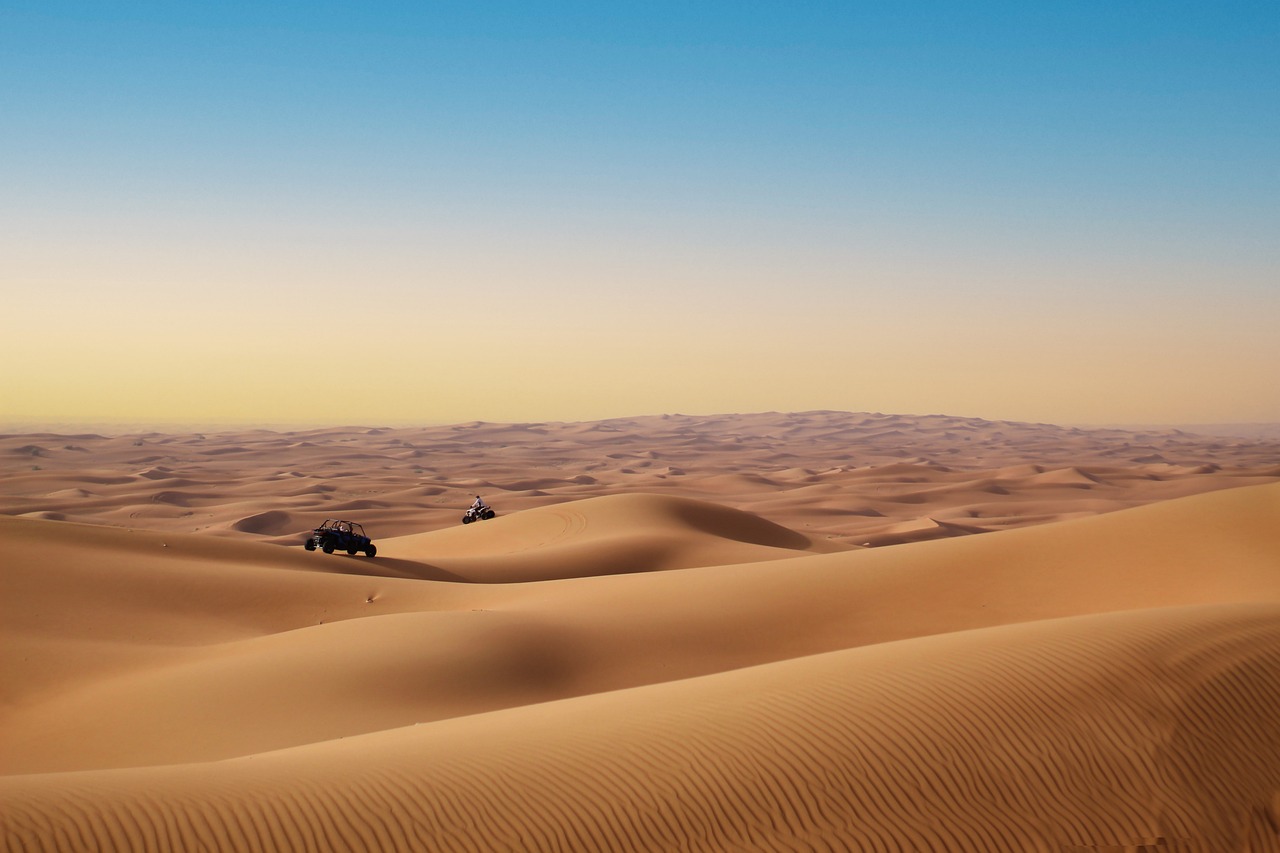
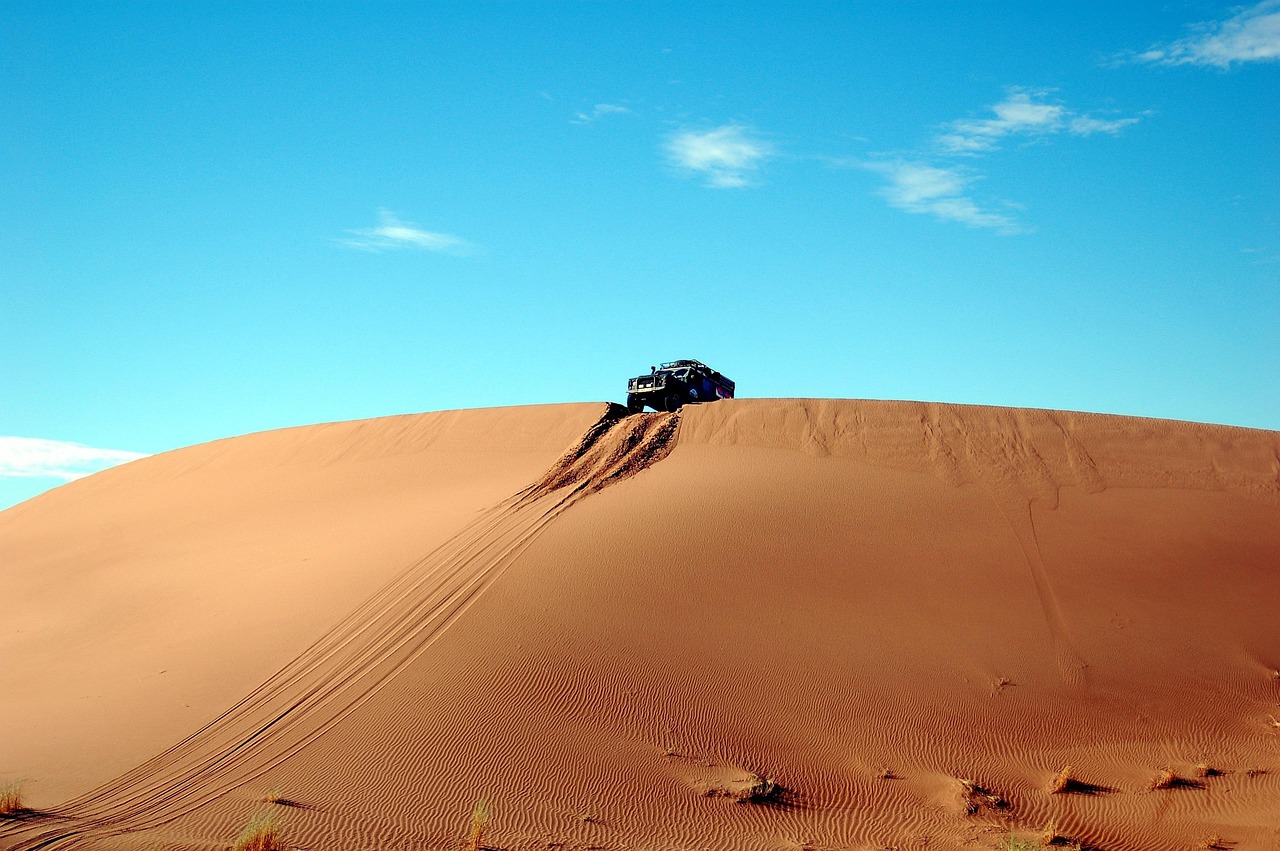
Dune Bashing Action: Capture the 4x4 vehicles climbing and descending the dunes. Use burst mode and fast shutter speed to freeze the action. The spray of sand adds drama to these shots.
Desert Sunset: The golden hour sunset is non-negotiable. Shoot the sun at different stages—when it's high, touching the horizon, and just after it sets. Each moment offers unique colors and lighting.
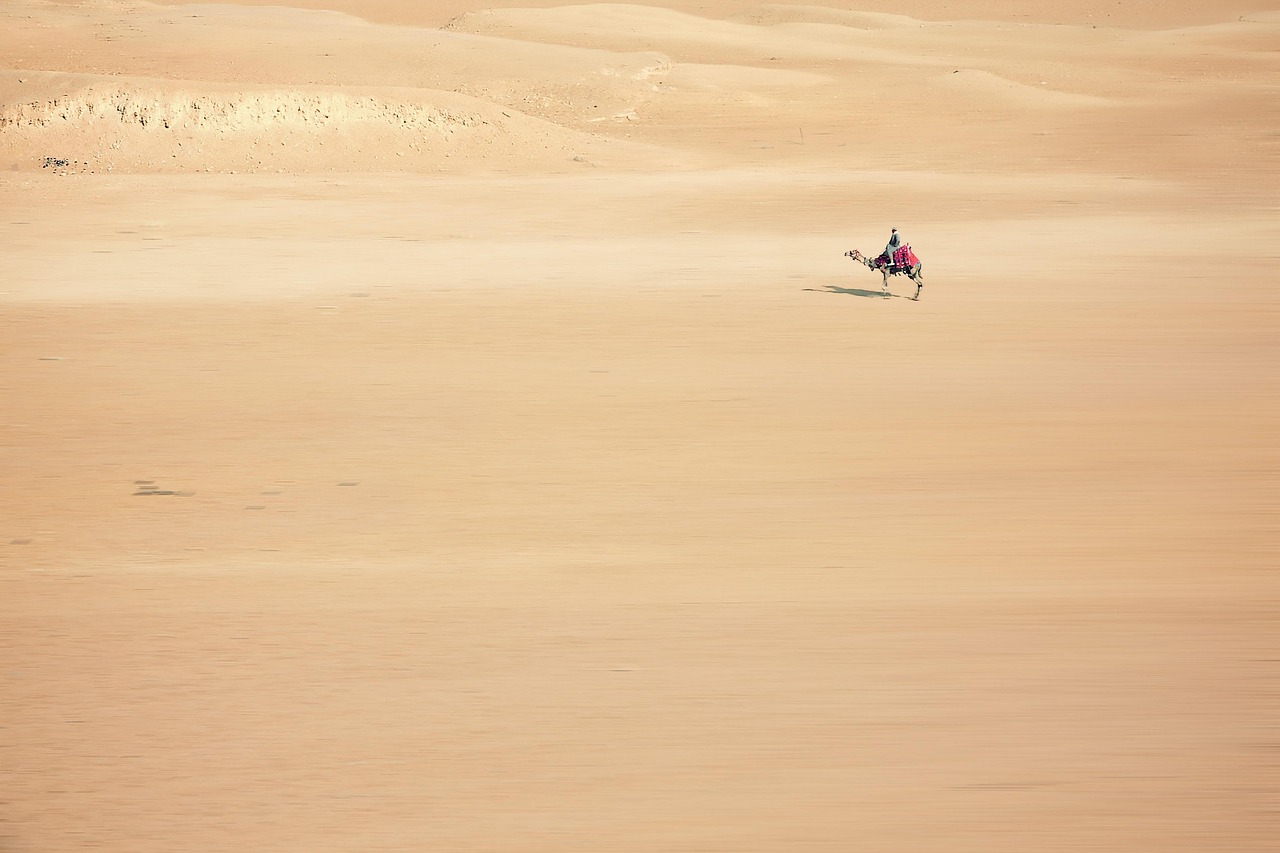
Camel Silhouettes: Position camels against the sunset sky for iconic Arabian desert photos. Get low to the ground for more dramatic angles.
Cultural Performances: Capture the belly dancer, fire show, and Tanoura dancer in action. Use a higher ISO and slower shutter speed for these low-light performances.
Camp Details: Photograph the traditional Arabic carpets, lanterns, and camp setup. These details add cultural context to your photo story.
Wide Desert Landscapes: Capture the endless dunes and vast open spaces. Include small elements like people or vehicles for scale.
Close-up Details: Shoot sand patterns, footprints, tire tracks, and desert plants. These macro shots add variety to your photo collection.
Common Mistakes to Avoid
Shooting at Midday: Harsh overhead sun creates unflattering shadows and washed-out colors. Always shoot during golden hour for the best results.
Ignoring the Foreground: Empty foregrounds make photos flat. Include rocks, plants, or patterns in the sand to add depth and interest.
Using Flash at Sunset: Flash ruins the natural golden light. Turn it off and increase ISO instead for low-light shots.
Centering Everything: Centered compositions are boring. Use the rule of thirds to create more dynamic images.
Not Checking Your Photos: Review images on your camera regularly. Check focus, exposure, and composition while you still have time to reshoot.
Forgetting to Protect Your Gear: Sand can damage cameras permanently. Keep equipment covered when not in use and change lenses in sheltered areas only.
Post-Processing Tips
Even great photos benefit from editing. Enhance warm tones by increasing orange and yellow saturation slightly. Boost contrast to make dunes and shadows more dramatic. Sharpen details, but don't overdo it as this can create noise in sky areas.
Remove distracting elements like tire tracks or footprints using the healing brush tool. Adjust exposure to recover details in shadows and highlights. Consider converting some shots to black and white—desert textures look stunning in monochrome.
Final Thoughts
The Dubai desert is a photographer's paradise, offering endless opportunities for stunning images. Whether you're shooting with a professional camera or smartphone, the key is understanding light, composition, and timing.
Remember: the best camera is the one you have with you. Focus on being present in the moment, enjoy the experience, and the great photos will follow naturally.
Related Articles
Ready to Capture Amazing Desert Photos?
Book your Dubai Desert Safari and create stunning memories
Book Your Safari Today